 Duplicacy backs up your files to many cloud storage providers, it includes client-side encryption and it offers the highest level of deduplication across platforms.
In this tutorial we'll be downloading, installing and configuring the Windows version of Duplicacy.
Download Duplicacy, and install it.
You can download it from their website: here
Once installed - run the program.
This will run Duplicacy in the background and it will also create an icon within the "hidden icons" section in windows
![]()
Right click, and select Open:
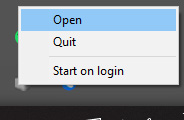
This will open your browser and take you to the control panel: on http://127.0.0.1:3875/

Your dashboard will look something like this:

Setting up S3 compatible storage on Duplicacy
Now it's time to setup Duplicacy to use your Cloud storage with Z1 Storage:
Within the left-hand side navigation, select Storage:

You will see a pop-over appear, it will look like this:
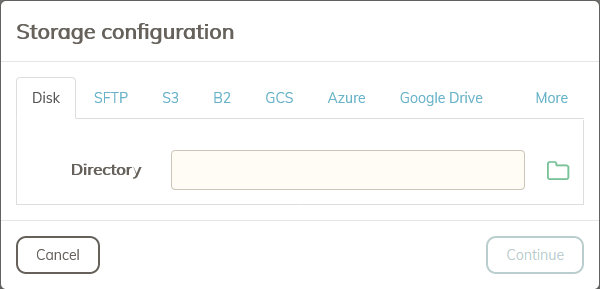
Then select the S3 tab:

It will ask you for your S3 settings. As Z1 Storage is S3 API compliant, we will use this connection method to access your bucket, data and files within the our cloud storage.
Service Provider: We will select Amazon (or compatible)
Endpoint: we'll enter: s3.z1storage.com
Region: set as ZA
Access ID and the Access Key: Then we have the Access ID and the Access Key, these you will need to get from the Z1 Storage client area under the Integrations tab.
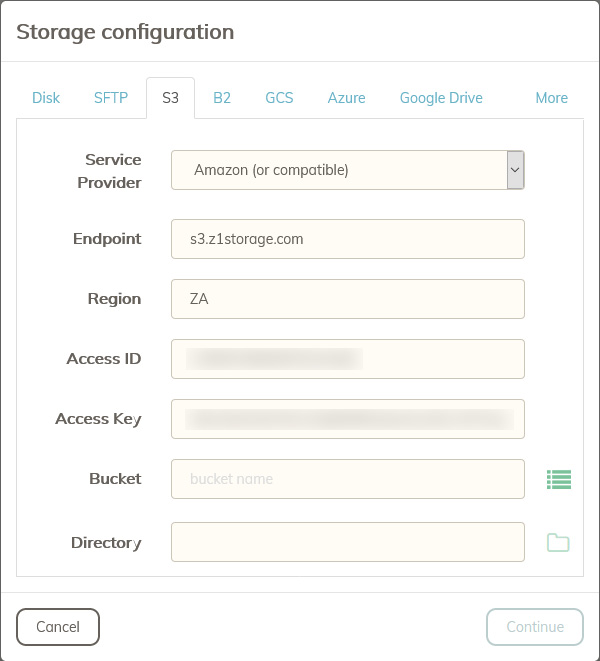
Now select the bucket Icon: ![]()
A new pop-over will appear, here you need to select the bucket you would like to use.
In our tutorial we'll use the z1storagetutorial bucket we created beforehand.
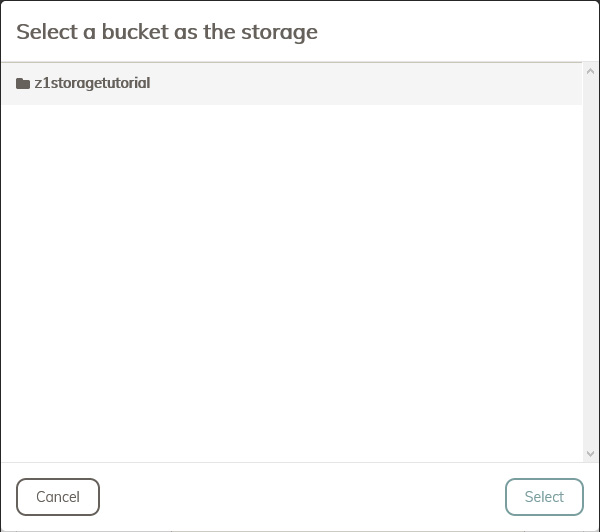
Once your bucket has been selected, Click on Select:

You will see the bucket name appear in the config page:

You may select a directory within the bucket,
or leave it blank if you wish to store the data in the root of the bucket.

Finally, we select Continue:

In the next section, we can configure encryption, erasure coding etc.
For this tutorial we will just set a name and the password
(please remember to keep this password safe as you will need to reuse it at a later stage)

Select Add

You will see the storage has been added.

Configuring a backup on Duplicacy
Select Backup on the navigation, then click on the small plus sign , top right.

Now, we setup the backup on this pop-over screen
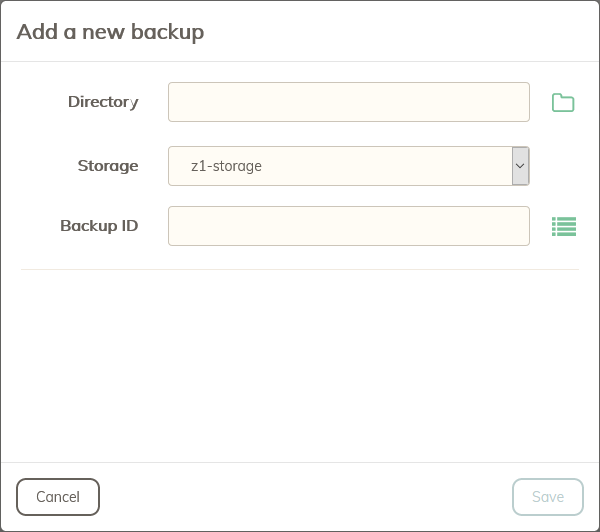
Directory: Next to Directory, click on the Green icon  And browse to the local directory or file you would like to back up.
Storage: Select a Bucket where you would like to backup to.
Backup ID: This needs to be filled in, you can select an ID of your choice for this backup. For this tutorial , we just made it "Duplicacy"

Then click Save

Starting your first Duplicacy backup
Good, now we see the backup is setup, you will also see and option on this screen to include/exclude files, and how many threads to use, we suggest leaving it on the default 4 threads.
_info) More threads will initiate more simultaneous uploads. Going beyond an optimal number can degrade the performance. Hence we suggest only modifying this if you find performance is below normal throughput.
__info) Selecting the **Send report after completion** will make it easier for you to keep track of the backup success._

If you would like to run the backup immediately, select the play button.

This will start the backup.
Note: The internet connection used during this tutorial was only 20Mbit, so we see it reaching the lines full capacity. Our backups at Z1Storage allow up to 1Gbit upload per storage pod as of 2021.

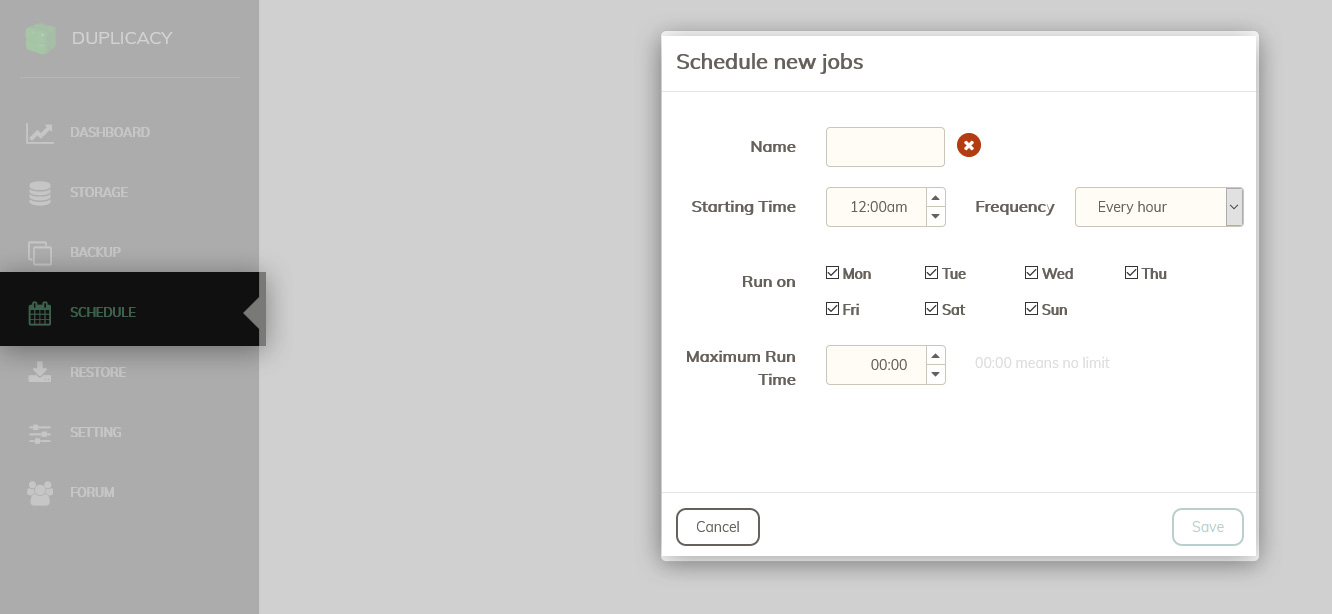
Scheduling your backups
Alternatively you can setup scheduling by clicking on the Schedule Navigation button
Conclusion:
And there we have it**, well done!
**
You now know how to backup your Windows machine to Z1 Storage cloud storage.
Our S3 compatible cloud storage means you can store your data, in the cloud, affordably with South Africa's trusted online storage provider. Z1 Storage